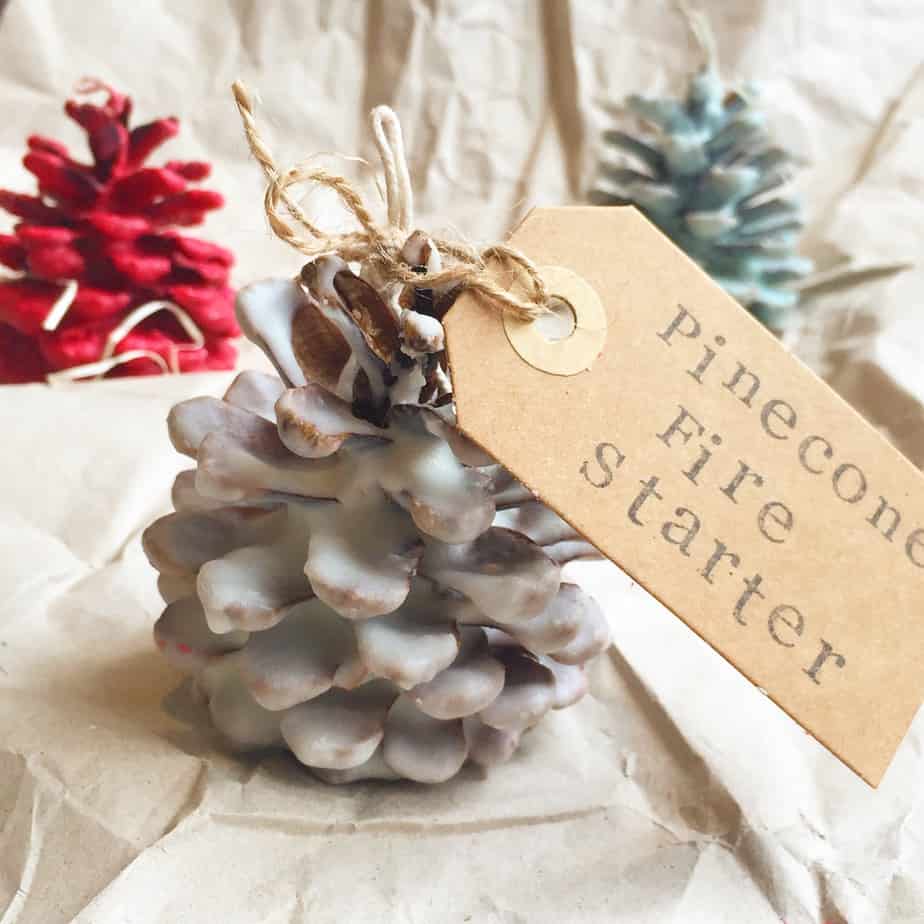
If you’re looking for ideas for a gorgeous, unique handmade Christmas present – these are it. I first saw these on Something Turquoise and was immediately smitten. It doesn’t matter if the recipient doesn’t have an open fire – they look gorgeous as Christmas decorations too. These pinecone fire starters just shout cosy winter evenings in front of the fire with a good book. Nothing can beat the smell of gingerbread and cinnamon in the air, and to have the homemade touch is such a special treat for anyone.
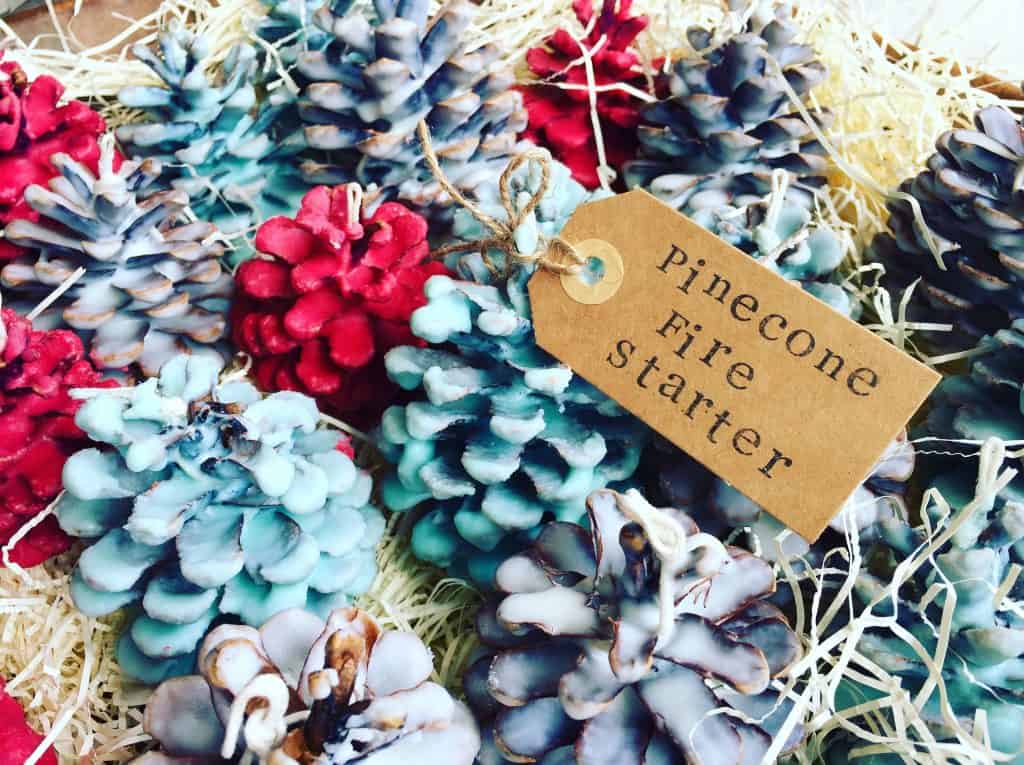
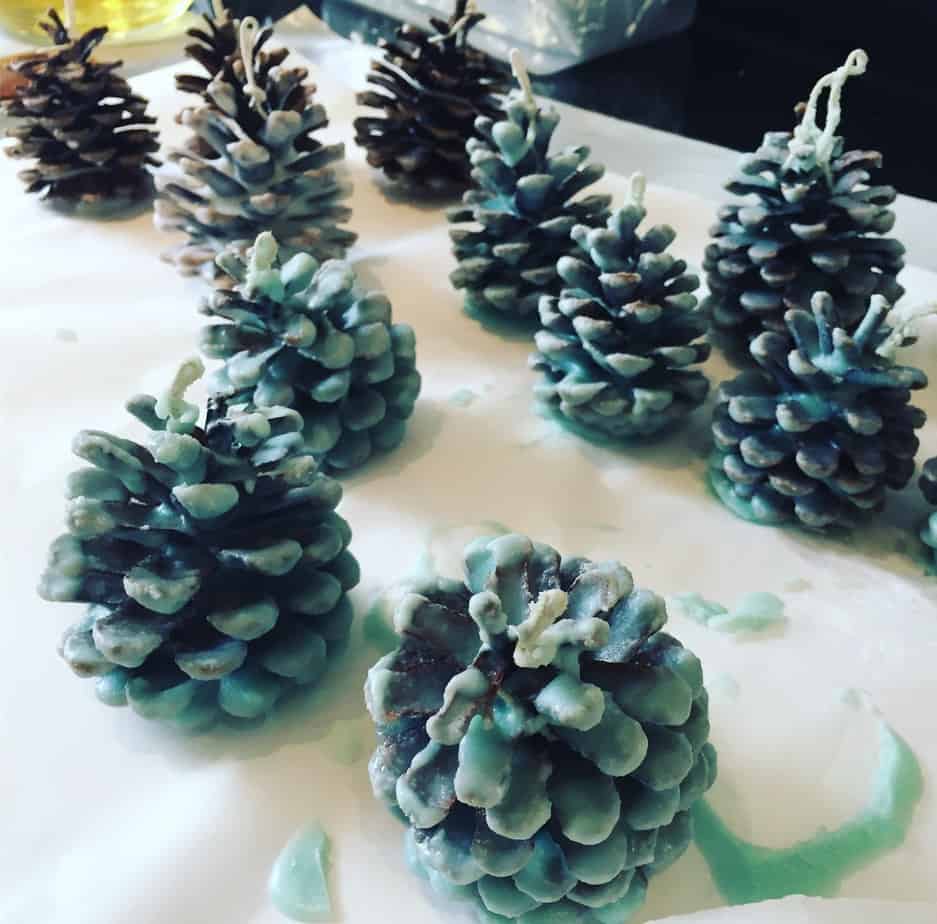
I was fully expecting a handmade christmas disaster, but these worked really well. The white and cranberry coloured pinecones smell of gingerbread, and the turquoise ones smell of cinnamon. How Christmassy is that?
If you’re worried about candle wax ending up in a waxy greasy mess in the bottom of your fireplace – my Dad has always started his fires using the old ends of candles, and swears it’s never been a problem. Maybe put them on some kindling, and then more kindling around them first.
Depending on how many colours or scents you want to do, I’d set aside a morning, put the music on, have a big mug of tea, and enjoy. There is waiting time for the wax to cool, so you can carry on with anything else you need, or want, to do too.
What You Need:
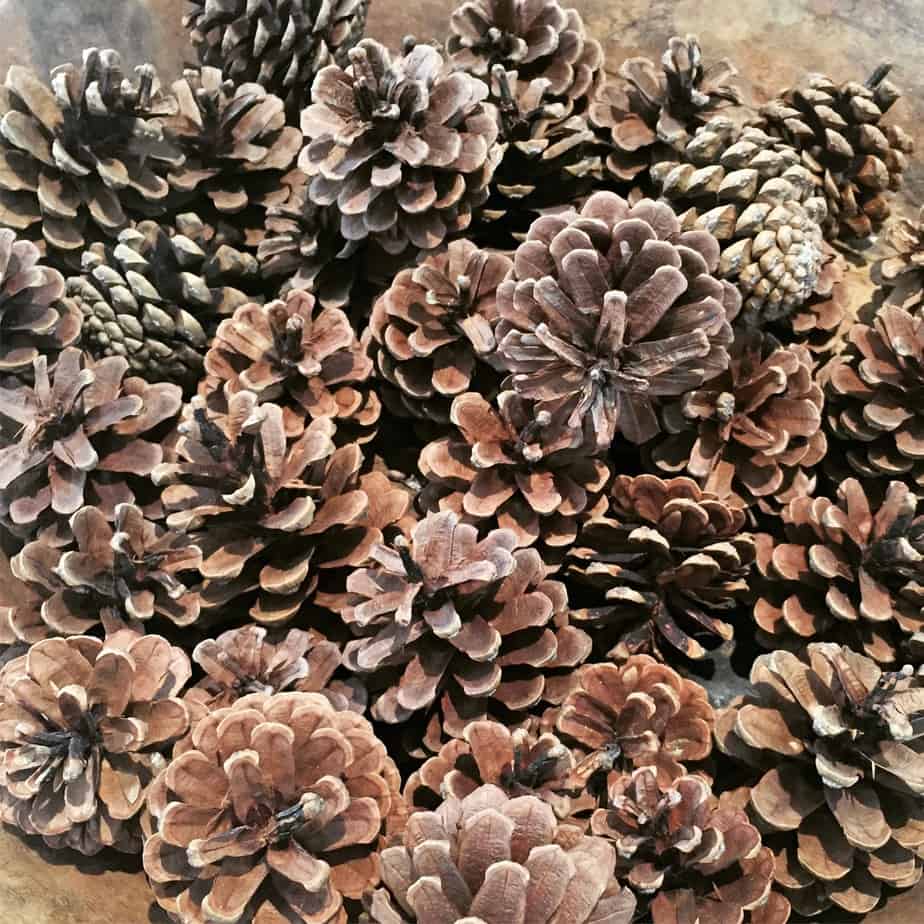
- PineCones – I wanted to make a lot, so I bought a 1Kg bag of (x50) Pine Cones from Amazon.
- Soy Wax Flakes (a 1 kilo bag should do at least 15 pinecones).
- Candle Fragrance Oil e.g. cinnamon, gingerbread, orange, clove etc
- Medium Wired Candle Wicking
- Candle Dye Chips (you’ll only need about 1-2 chips for each colour you do). White = no colour added. I used just made my white ones and then added a colour to the wax, before melting more wax for the second colour: Cranberry &Turquoise
- Parchment Paper
- Scissors
- Heat proof bowl & pan
- Wooden spoon
What You Do:
- Lay parchment paper out on your counter top to protect it from any hot wax.You’ll be standing your heatproof bowl or jug on it, and standing the dipped pinecones out on it to dry.
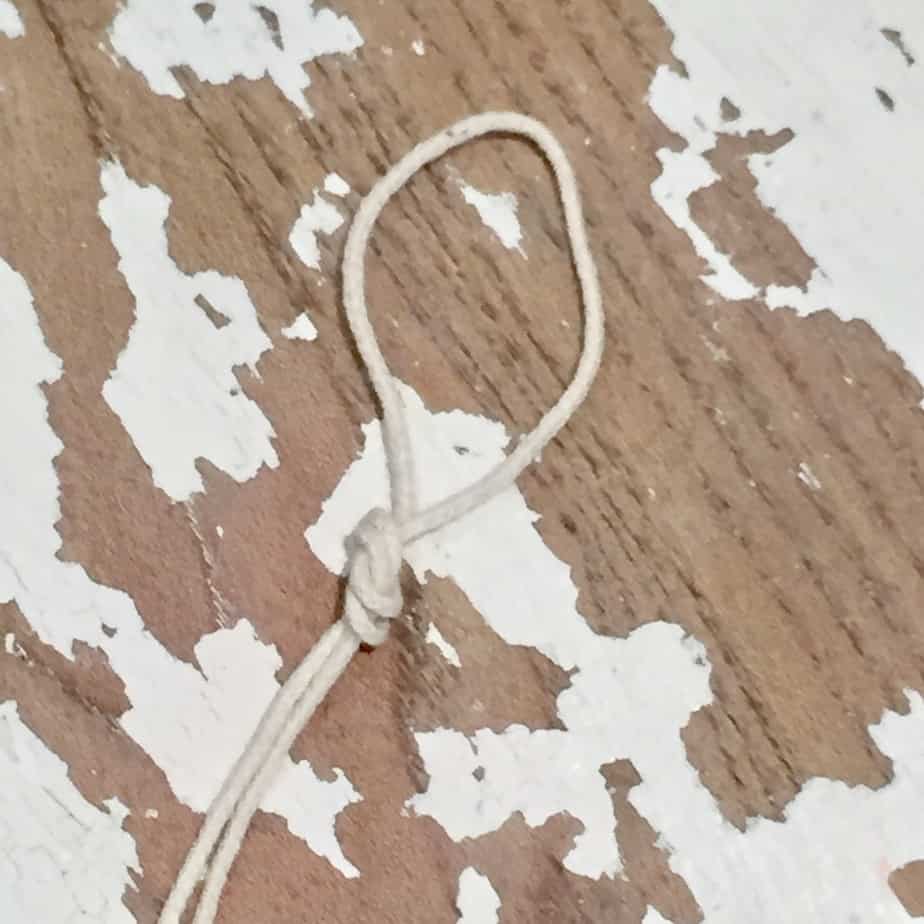
- Cut your wicks – 12″ lengths and make a loop knot at the top …
- Put your wax flakes into your heat proof bowl & stand it in a pan of boiling water (as you would if you’re melting chocolate).
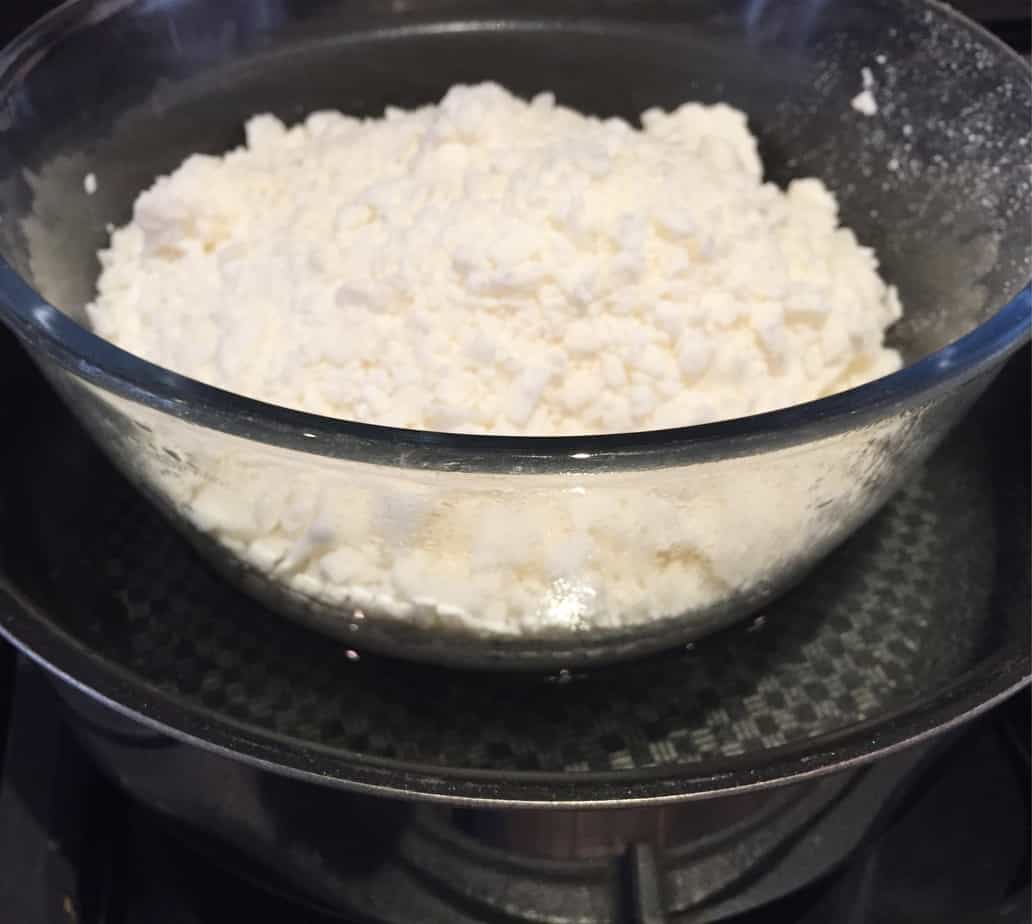
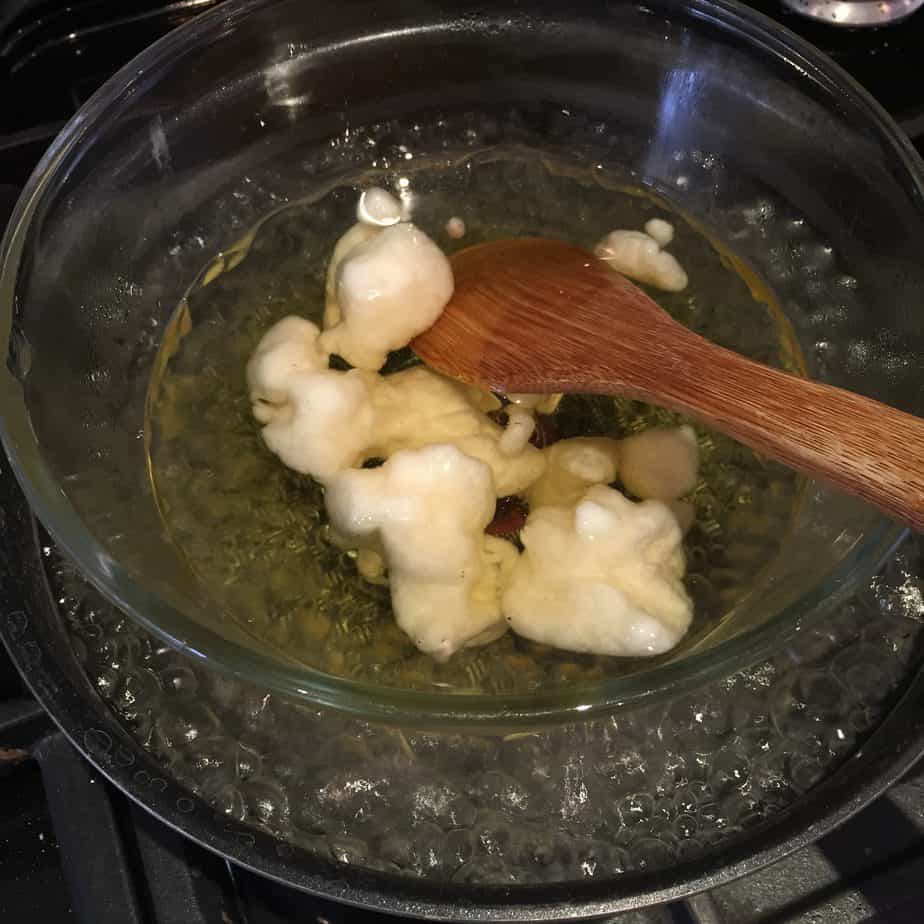
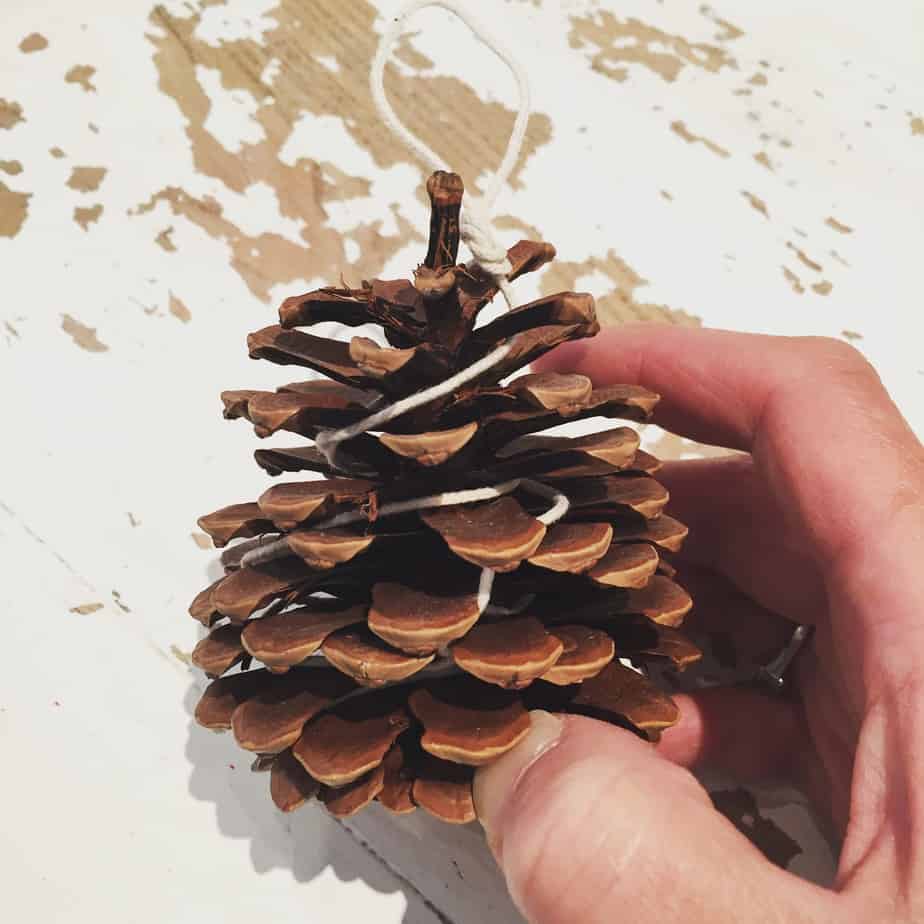
- While it’s melting, you could start adding the wicks to your pinecones. With the loop at the top, then wind one piece around the pinecone in one direction, and the other piece around in the other direction. Tuck the loose ends in between the pinecone scales using the end of a pair of scissors.
- Once the wax has melted, you can add your fragrance (‘some drops’) and your colour. I’d add just one chip to start with, and make sure that’s fully melted in before testing the colour strength. You can always add another one if it’s too light for you.
- To do that, dab a bit of the molten wax on to the parchment paper and allow it to dry … it dries much lighter.
- The wax will need at least 30 minutes to cool down before you can start dipping your pinecones. If you dip them too early, the coating will be REALLY thin.
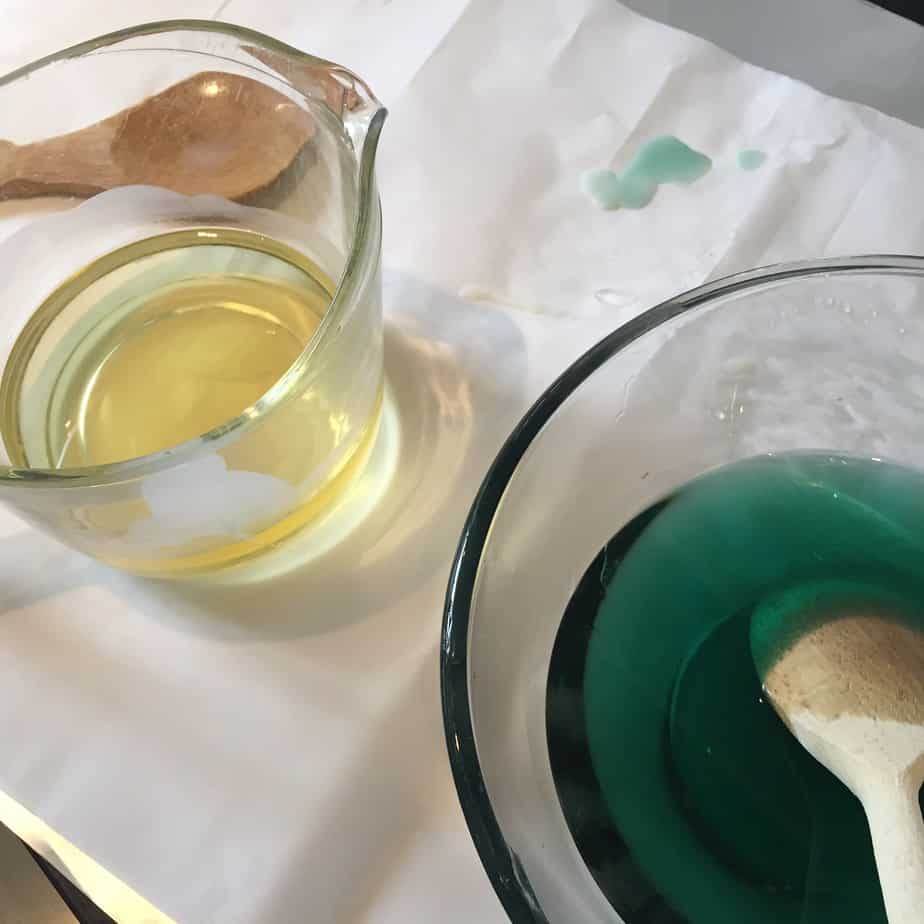
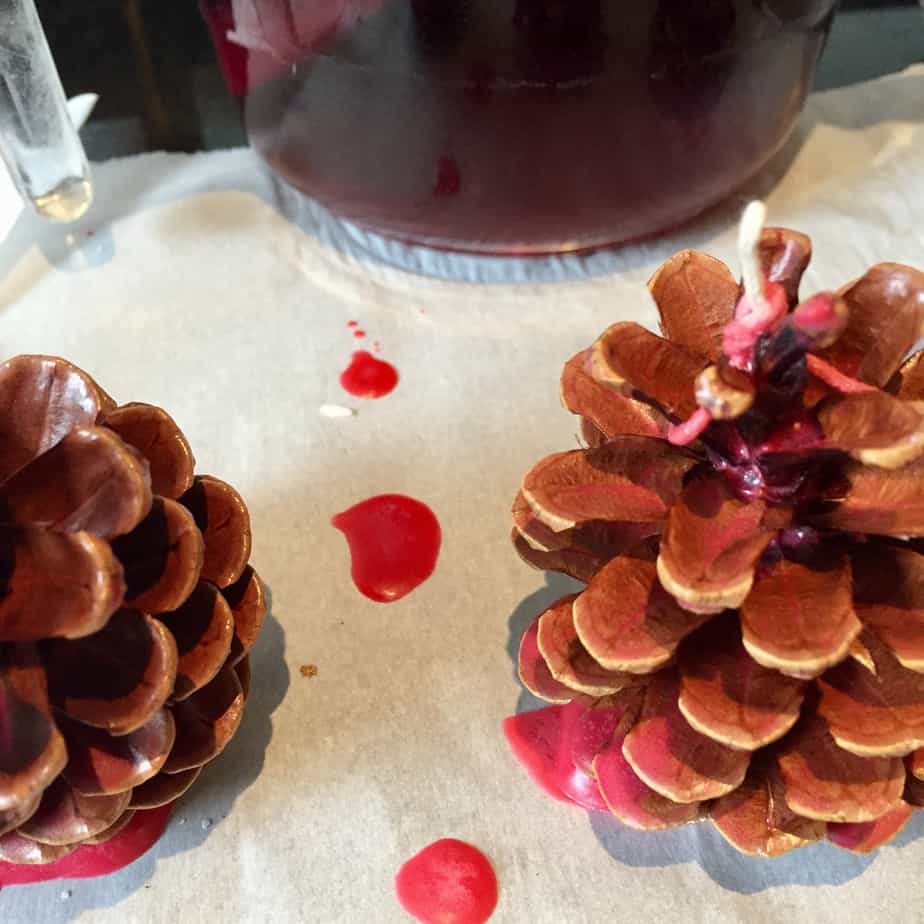
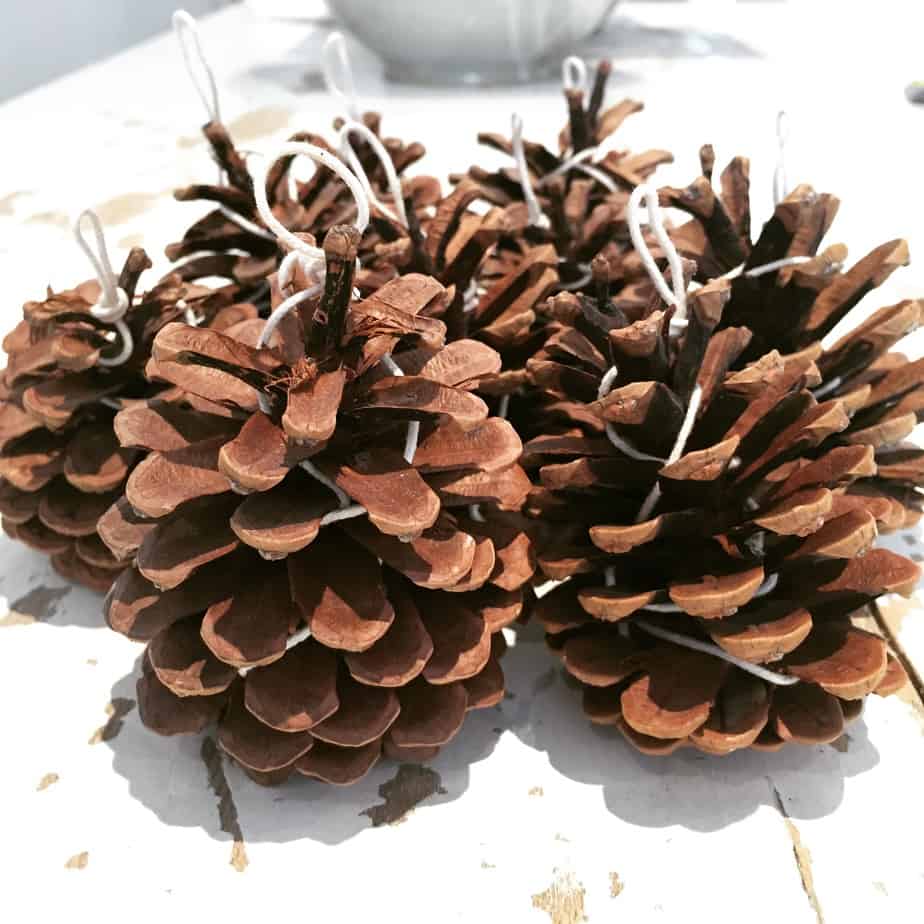
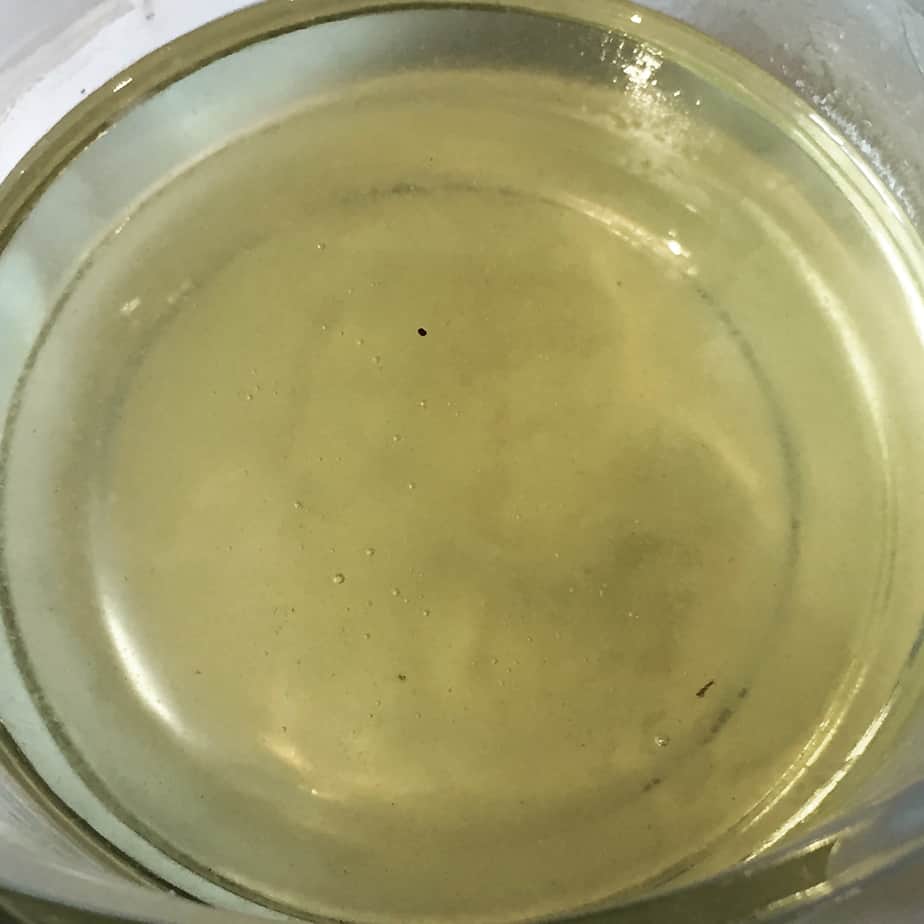
- Once the wax has a very slightly cloudy look to it, you’re ready to dip!
- Holding the loop of wick at the top, dip your pinecone into the hot wax (or roll it around in it if your wax isn’t deep enough), and then hold it up for as much of the excess wax to run off as possible.
- Leave it for 15 mins to harden on the parchment paper, before dipping again.
- If the wax has gone too thick in the meantime, just put it back into the pan with the hot water bath (bain marie), and melt it a little.
- You may need 2-3 coats, or more depending on your desired effect.
- Then scrape off the pool of wax that will form at the bottom of each of your pinecone fire starters, using a knife or your fingers.
- Add a cute tag and some twine
- Done!
I actually think either different colours, or all one colour look equally good. You could pop three into a little basket or gift box, for a really lovely handmade Christmas present.

You may also like our other Christmas Activities.
You might also like:
Handmade Christmas: Noughts & Crosses
A Magical Idea For The Tooth Fairy

Leave a Reply