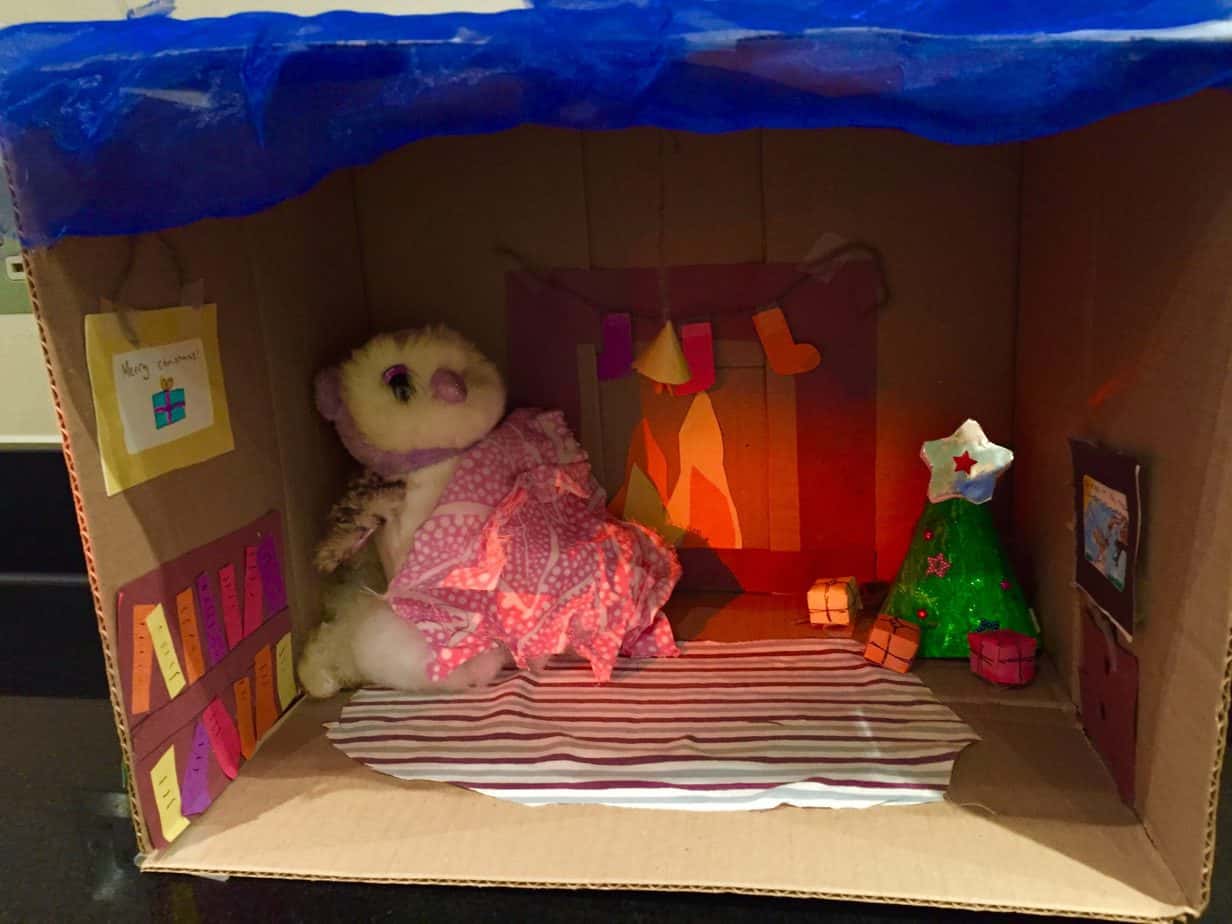
It’s true what they say – give a cardboard box to a child and great things will occur! Our 8 year old announced she wanted to ‘make something Christmassy,’ as she’s prone to doing 796 times a day through December. I plonked a cardboard box on the table and said ‘there you go.’ She looked at it and suddenly her face lit up, told me what she wanted to do with it and we had a lovely time not doing it together. I was only allowed to cut out the flames for the fire and the stockings before I was relegated to the ‘Admiration Department’. She even agreed to come to the Post Office and buy some potatoes with me so we could discuss what we she was going to add next.
We’d already made the Cone Christmas Tree (instructions below) and it worked perfectly in this cosy little Christmas house. Even owl seems particularly comfortable. We put some blue ‘curtains’ at the front, which are flicked up over the snowy roof so I could show you what’s inside. My daughter had a brain wave and used the flash on a camera to throw an orangey glow into the house for the fire while I took some photos. #ArtyPants
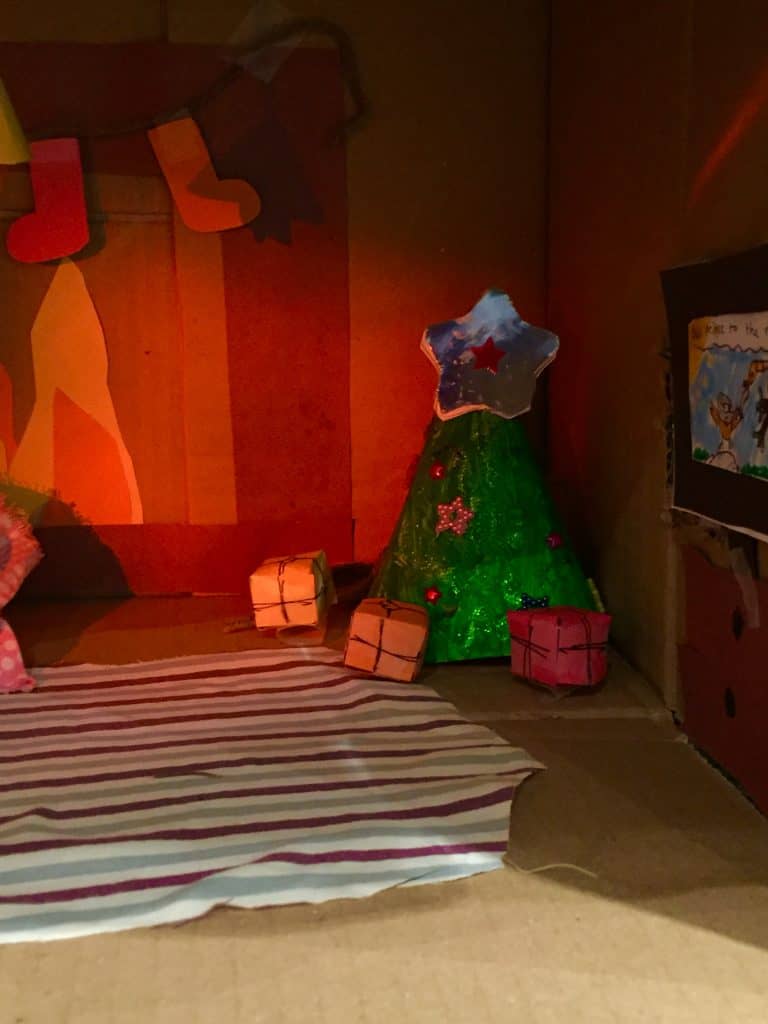
We used coloured paper to make everything that isn’t brown wool or a scrap of old fabric! We made the presents by folding coloured paper to make a cube and then we drew the ribbon on. It would be lovely to use real ribbon or string though. The rug is a scrap of fabric from the cupboard I daren’t open, because it’s so rammed everything always falls out all over the floor.
The light is a mini yellow cone hung from a length of brown wool and some orange paper screwed up into a ball over the knot.
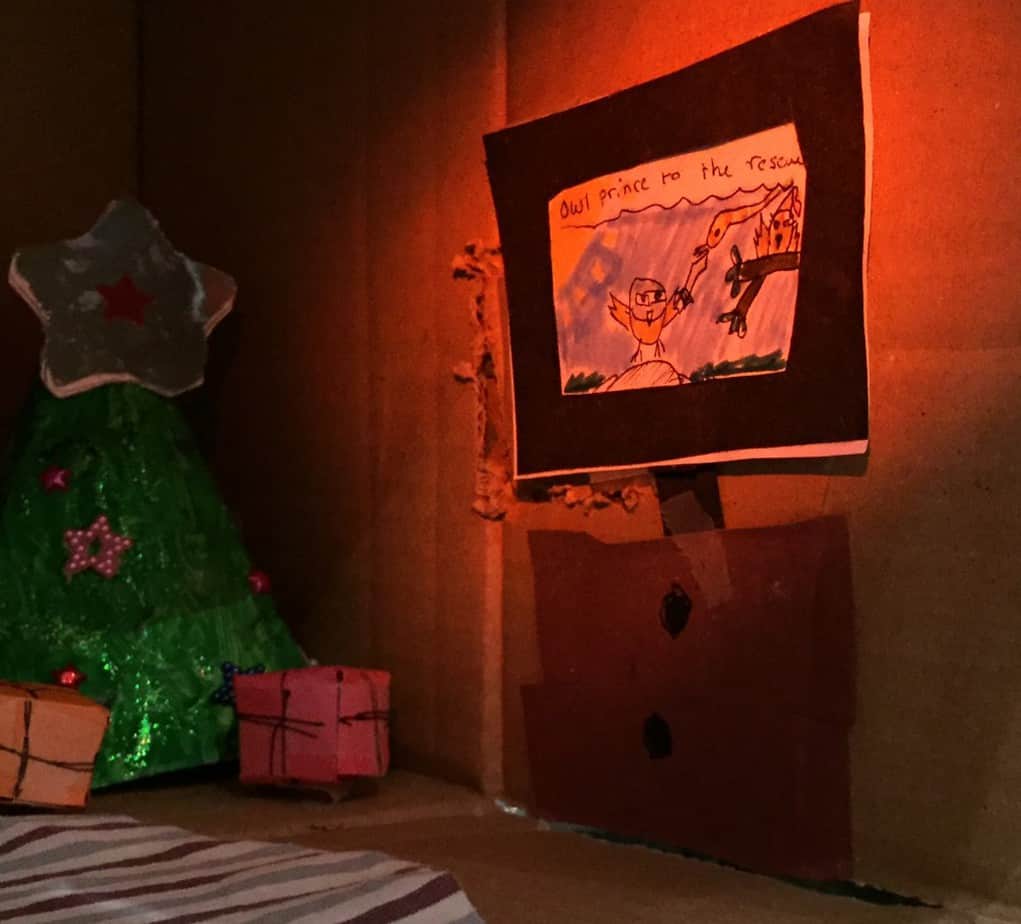
Then there’s this cute little TV to the right on top of some drawers, with a gripping owl programme on…
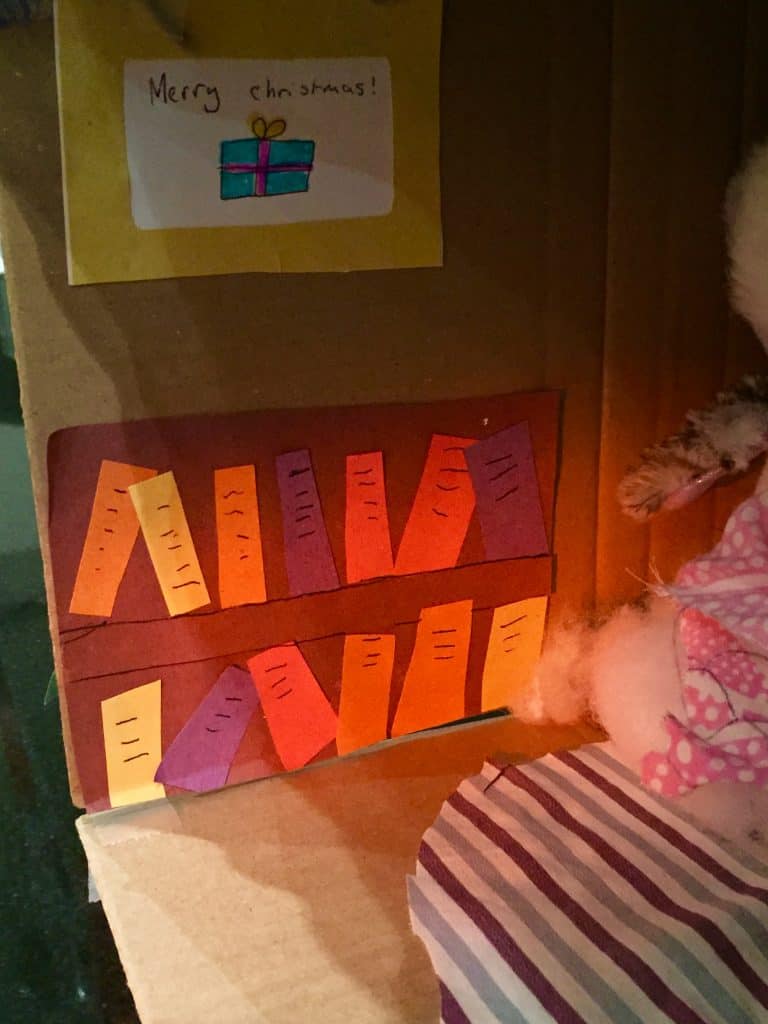
And a bookcase to the left with a framed photo above. She cut out lots of rectangles for the spines of the books, drew a few lines on them and then glued them at various angles to her ‘bookcase.’
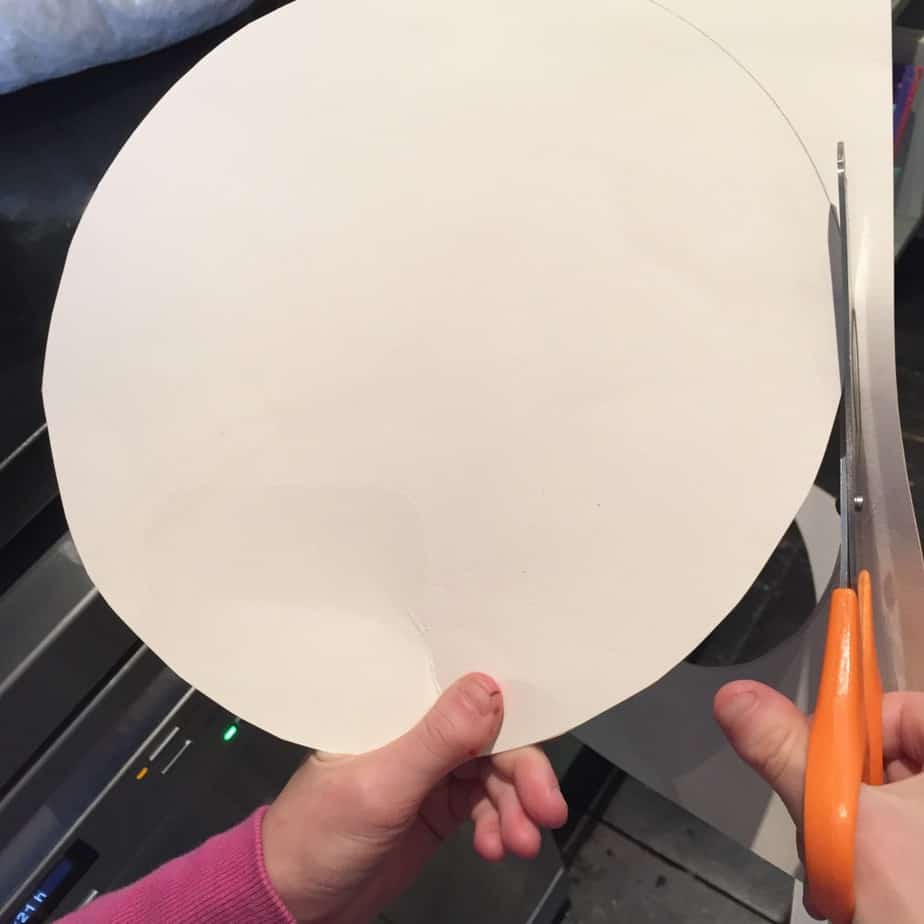
To make the Cone Christmas Tree – start with a large circle, fold it in half and cut along the crease. Fold the straight edges around to meet each other and slightly overlap, to make a cone. I’d advise stapling them together.
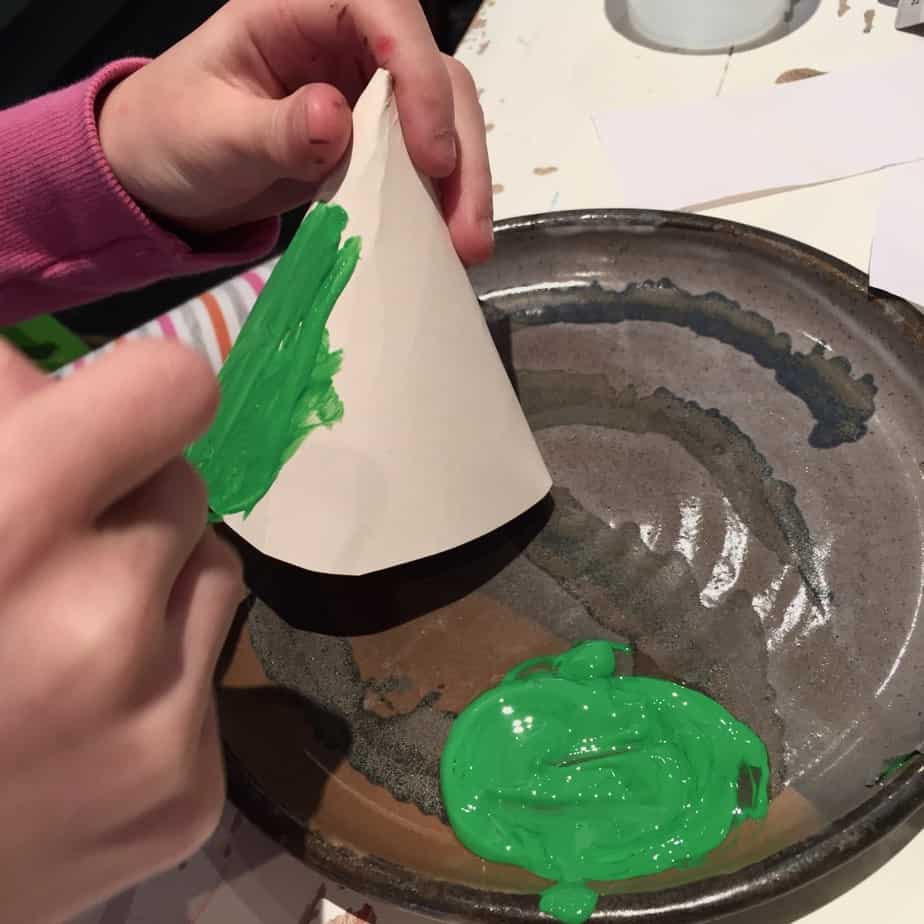
Then paint your cone green…
Once it’s dry you can decorate it however you like! Glitter, craft findings, cut out round circles of coloured paper for baubles, ribbon….go for it!
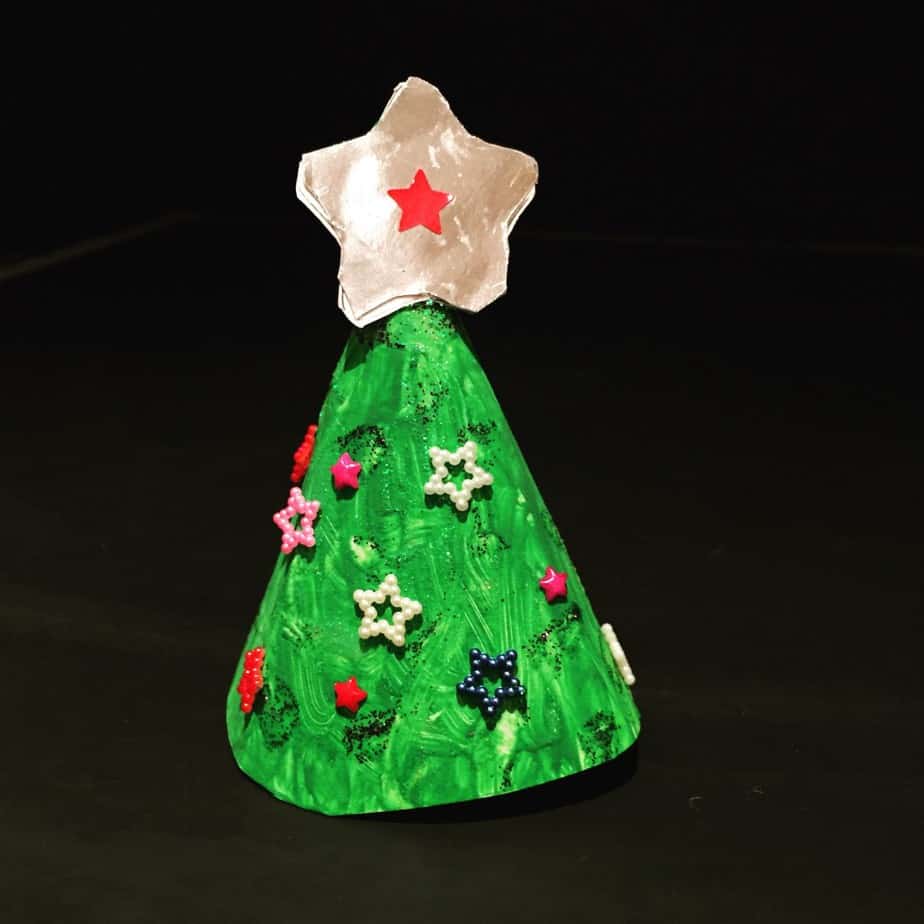
Then once it’s done, it’s perfect for imaginative play! I’m actually really impressed with how it turned out.
If you’d like ideas on How To Make Their Christmas Stockings More Magical…
Or read the Exclusive Interview With Elfie From The North Pole…
*****If your child believes in Father Christmas and you want to keep the magic for as long as possible, Elfie’s Christmas Letters (advent letters) and our North Pole Christmas Letters are absolutely perfect.
Come and join us on Facebook and over on Christmas Traditions & Magic For Children. The Shop is still open for Christmas 2015.
To receive our blog posts, please sign up at the right hand side of this page or for Product or Christmas News and promotions from the International Elf Service, please sign up at the bottom of the page. This year’s series of ‘Elfie’s Christmas Letters’, ‘North Pole Christmas Letters’, a shorter set of letters from different elves from the North Pole, Elfie’s Birthday Letters and other fun products are in the shop too!

Leave a Reply